Fonts Fonts Fonts Adding, Installing & Moving
One can never have enough fonts.
Overview
To move fonts between the Host OS & Guest OS you must compress them first, then drag/drop in to the Guest, expand the zipped folder and install in the user/library/Fonts folder or with your font management software.
Step by step guide:
Select the fonts you want to install and put them in a folder.
Compress the folder (zip it) by right clicking and selecting Compress

Take the newly created .zip folder and transfer to the Guest OS by drag/drop or through the Guest finder window.

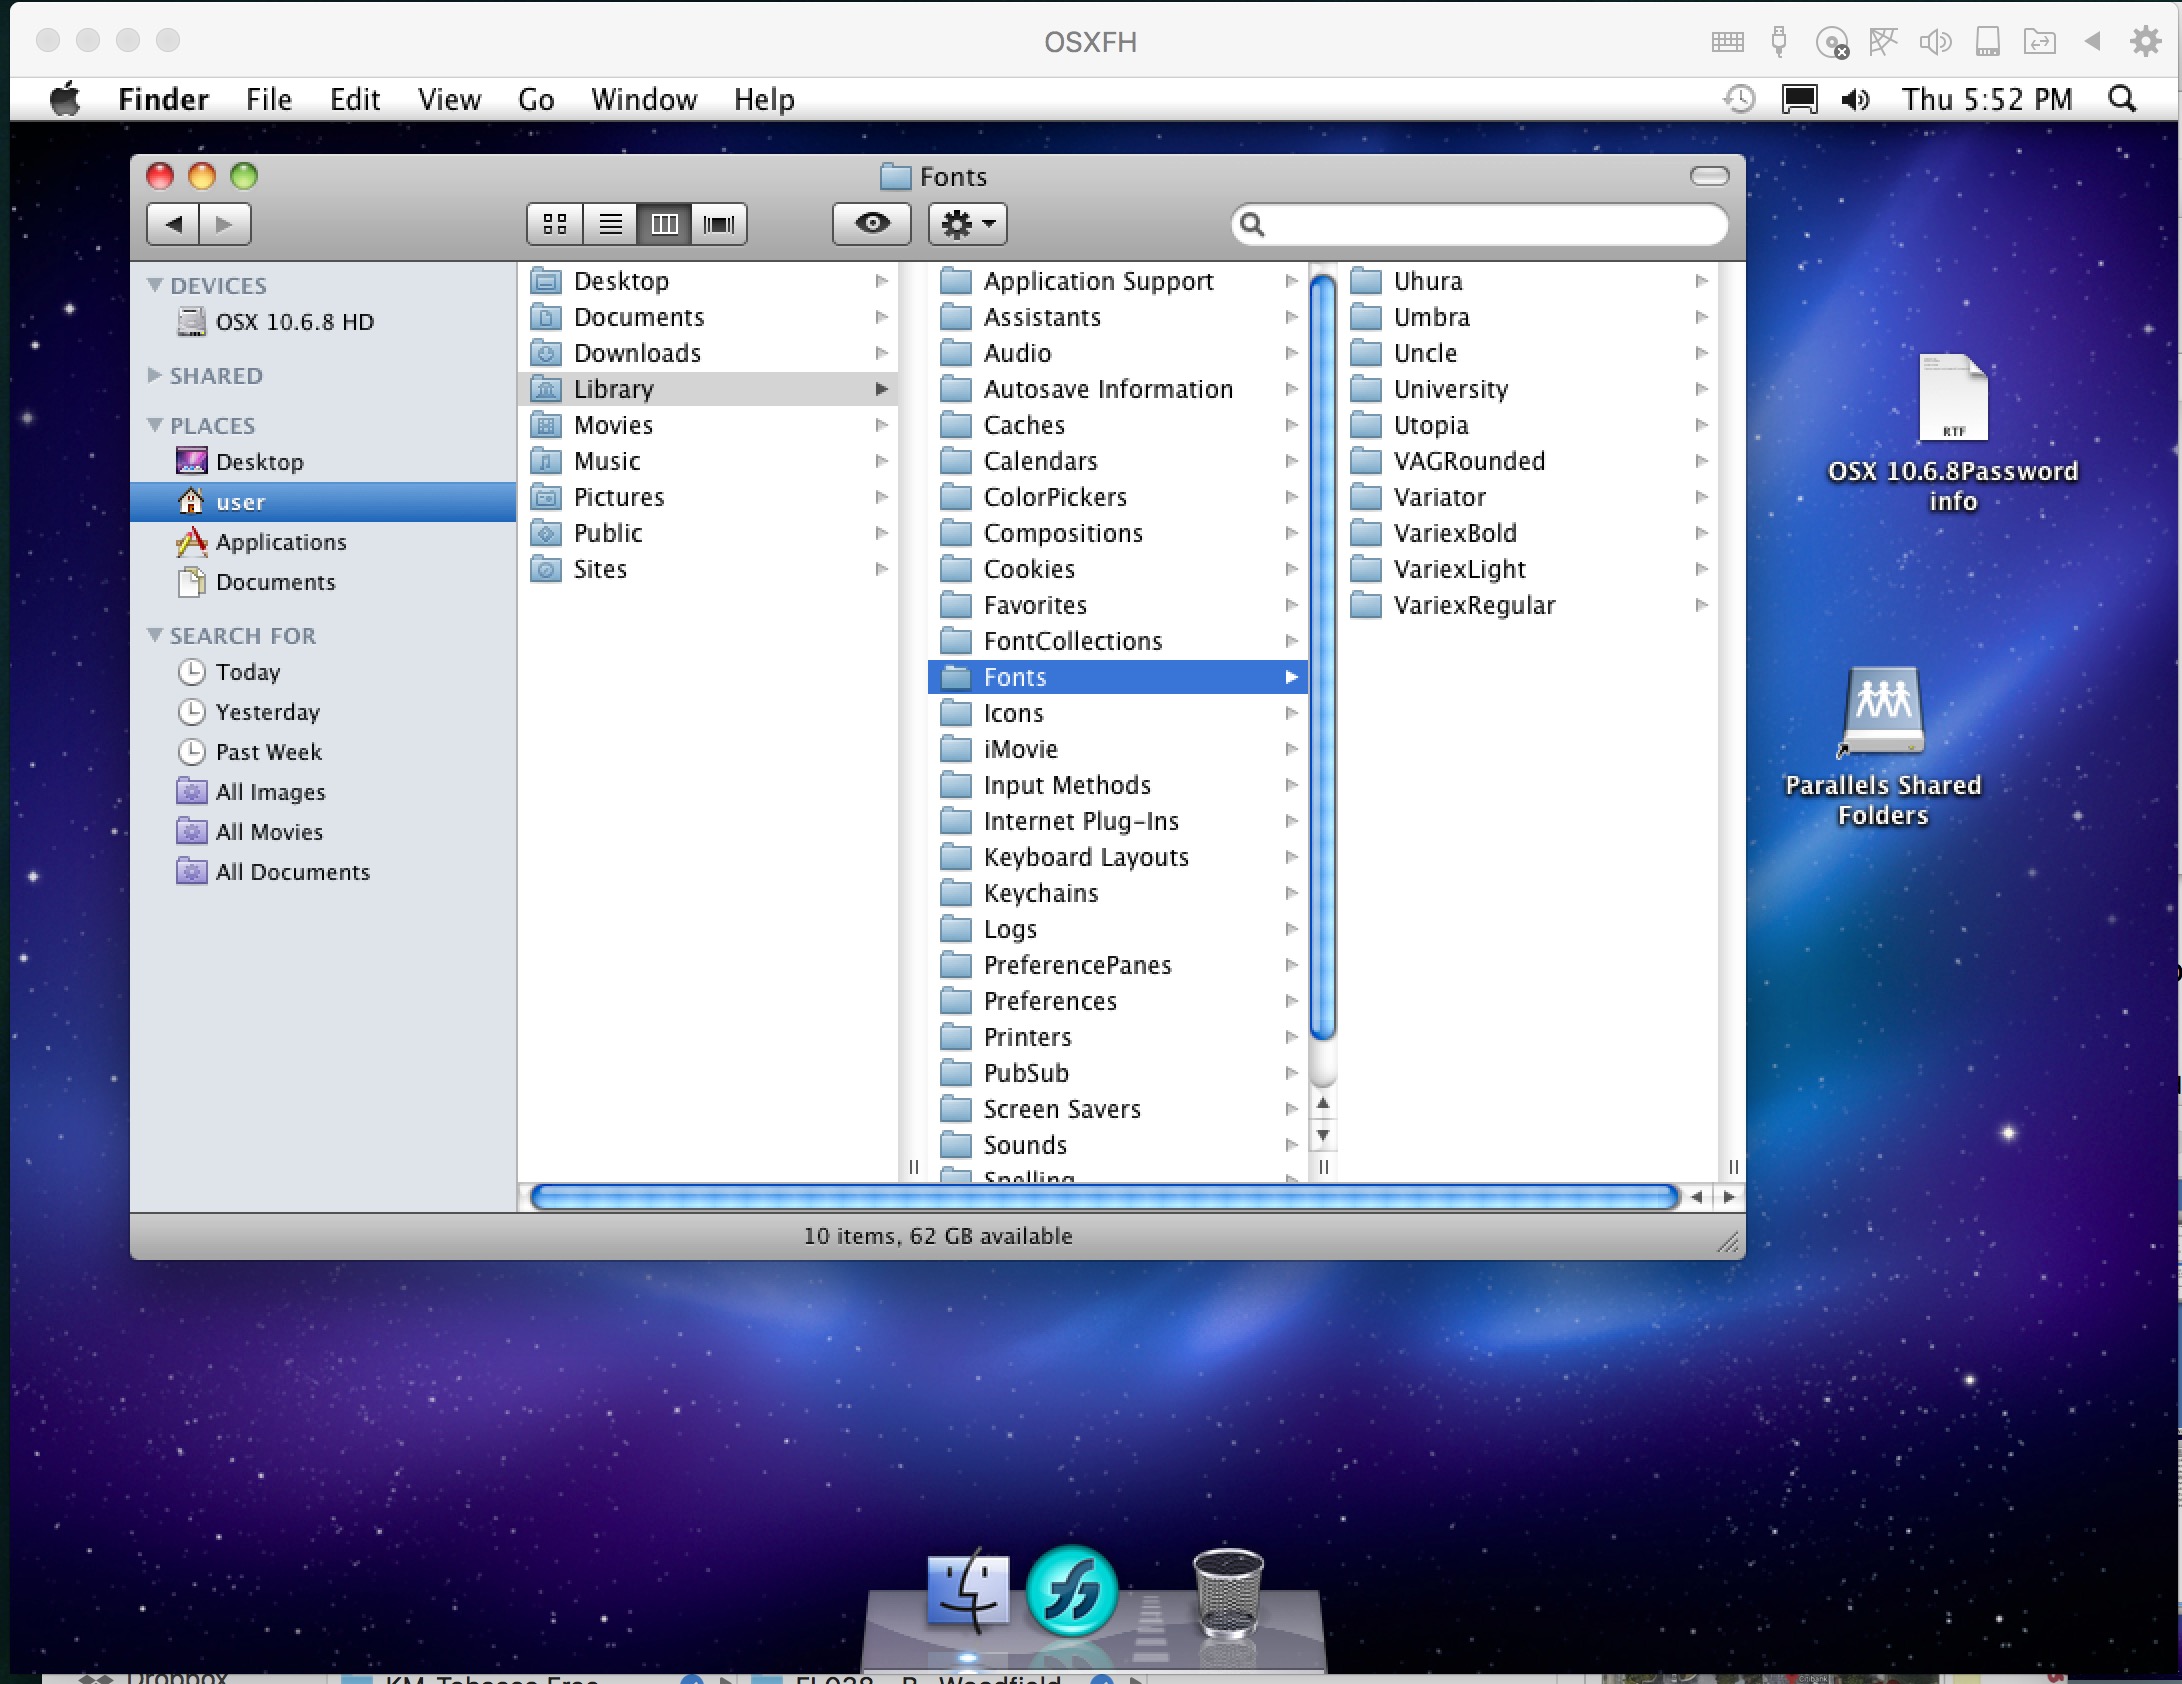
Expand the .zip folder in the Guest OS and move the fonts in to the user Font folder. (you can also install in the System Font folder at OSX 10.6.8 HD/Library/Fonts)
Restart the Guest OS and the fonts load on startup of the Guest OS
Freehand Design recommends using Linotype FontExplorer X v.1.2.3 (Mac) which is free and excellent. It only works up to Snow Leopard which is perfect for this installation.
Note: Parallels file translators recognize font suitcases as EXE files and corrupts them in transfer between the Host and Guest. By compressing them in to a zip, they are hidden from these translators during transit between OSs’. Upon expansion the Guest OS recognizes them as Font Files – just as the Host OS does.